Day 346: Finally we got our order placed for the decking material from Astroplastics in Covington Georga. https://www.astroplastics.com/products/decking/
Technically they sell boat dock material. Therefore, I am putting a boat dock on top of our van.
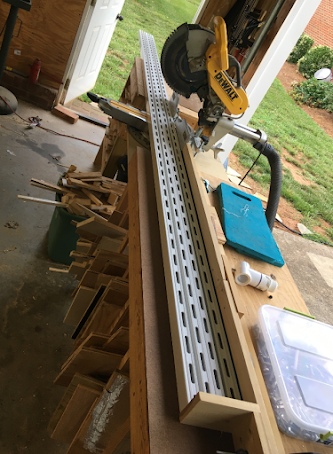
I picked up the materials with the Van, of course! Saving a huge delivery charge. Luckily the 12 foot boards and all fit nicely in the garage.

The decking materials can be cut just like an ordinary 2x6 on the miter saw. The vented version we purchased are not so easy to rip.
Used CAD to help determine how much material and fasteners are required. Since the boards are the exact same size as a 2x6 board and since I can't rip them I had to allow for some gaps in the design. After several attempts this drawing won the best coverage with least material award.

The material plan calls for 3 sku's
D1 = 65 inches long qty= 3 (center deck)
D2 = 84 inches long qty = 2 (Longer side decking)
D3 = 144 inches long qty 4 (longest outer decking)
Note: no silly unnecessary smart part numbers in my Bill of Materials!
D1's all cut to length and ready to install:

To determine where the holes need to be drilled I started off using a square to mark the location of each 80x20 support. 80x20 extruded aluminum channel has a very narrow slot into which these carefully drilled holes must line up exactly. Each hole gets a stainless steel screw inserted from the top and a flat T nut attached to the bottom. The T-Nuts slide along in the slot in the 80/20.
Although this method worked some what, I decided to build a jig to help better align the holes with those pesky slots. The jig is made of a single 3/4 inch thick scrap board fixed to 2 x 2x4 segments that have all been ripped to the exact same width of the 80/20 channel. Then the lines drawn on top of the board represent the slots on the 80/20. Finally the holes near the center of the jig are used to align the drill with the decking channel slots.

Here you can see the jig in action. The process is a follows: use a square to mark the location of each 80/20 support on top of the van first, then bring the deck board into the shop where the jig is placed over the marks and drill though the jig holes.

This improved process with an actual Jig worked much better. However, the difficulty increased with each sku. The longer the Sku the more 80/20 supports and the more of those dang slots to line up. The drill makes the jig, well jiggle, so I added clamps to help hold it in place.

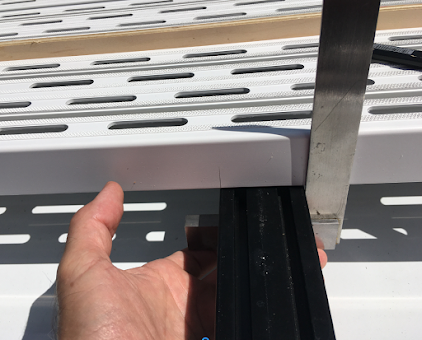
The decking material has a channel for the screws with a top and a bottom. The top engages the screw head which applies clamping force to hold the deck board to the 80/20 support. The bottom of the channel provides a rest for the board to sit on the 80/20. Therefore the bottom hole accuracy is not hyper critical. Taking advantage of this fact I elongated the holes to give the boards a little wiggle room when sliding the board on the the 80/20 supports.

Here is an example of the T-nuts installed on the bottom of the deck board. That little gap is all we have to work with while sliding the board onto the 80/20 rail.

The D1 and D2 deck boards I handled all by myself. The D1 only required lining up 5 supports with double rows of T-Nuts. No pictures of video of this process as adult language unfit for crusty old sailors accompanied fits of pushing, pulling, begging and pleading. Thanks to a very large rubber hammer the smaller D1 and D2 installations went off pretty smooth. Although I now need a new rubber hammer.

Used a 1/2 inch piece of maple plyboard as a spacer between each deck board. This technique worked well but required the first board installed had to be exact.


Gina performed many task as shown here putting down the fastener slot covers which hides the fasteners.

And here an extremely rare photo of me doing anything productive...

The deck is complete! Sorry, the Boat Dock is complete!
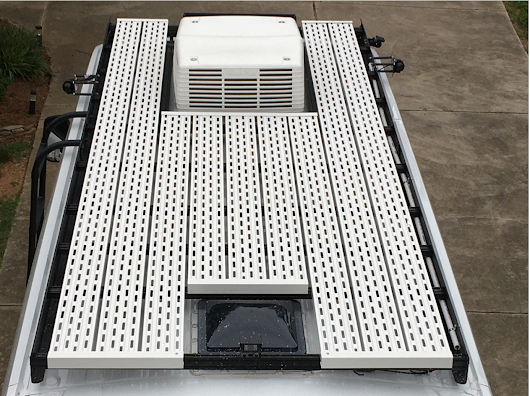
This is the last big project on the Van! We hope you have enjoyed this project.


No comments:
Post a Comment